Intro
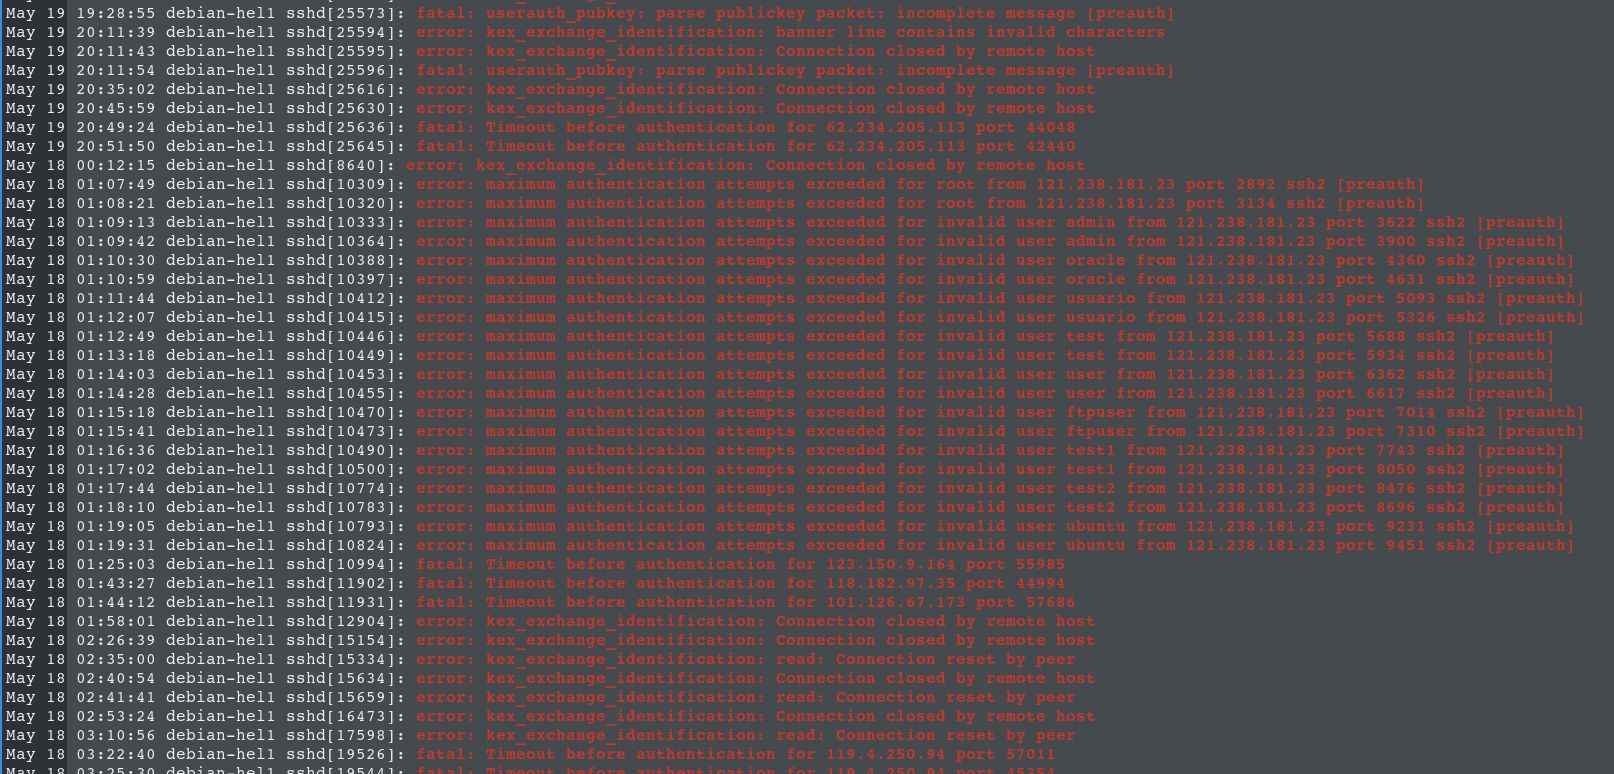
Days ago, I bought my first VPS with Debian 12 installed. Just a few days after it was up and running, I began checking the system logs, where the SSH service caught my attention. To my surprise, there were several attempts to connect to port 22, including some brute-forcing attempts to access users that didn’t exist on my server. I mean, I know it’s a public IP and the World Wide Web, but come on, not even 48 hours online and I’ve already had several intrusion attempts, mostly coming from Asia. I never expected that.
~$ journalctl -u ssh -p err

This led me to explore how to add another layer of security to my server, and after a brief investigation, I decided to install fail2ban.
Installing fail2ban on Debian 12
I was having trouble starting the service after the installation. It seems that the maintainer forgot to include python3-systemd as a dependency. So, make sure to install it if it’s not already installed.
~$ apt install fail2ban python3-systemd
Let’s customize our parameters by creating a file in /etc/fail2ban/jail.d as suggested by the documentation. In my case, I created the file /etc/fail2ban/jail.d/defaults-diego.conf with the following content:
[DEFAULT]
backend = systemd
bantime = 30d
findtime = 45m
maxretry = 3
Service sshd is enabled by default in the fail2ban configuration on Debian 12, so I didn’t have to do anything extra. Then, make sure you restart the service and check that everything is running.
If you are wondering about the configuration, it’s very simple: Just block any IP address that has 3 failed attempts within a 45-minute window. If there’s a match, they won’t be able to connect to port 22 for thirty days.
~$ systemctl restart fail2ban; systemctl status fail2ban
Check for banned IPs
So far, we have installed and configured fail2ban by customizing some basic rules. Now it’s time to check if any IP addresses have been banned.
Run the following command to check fail2ban status on the sshd service:
~$ fail2ban-client status sshd

Wow, a total of 53 banned IPs in just a few hours!